
Last updated November 14, 2026
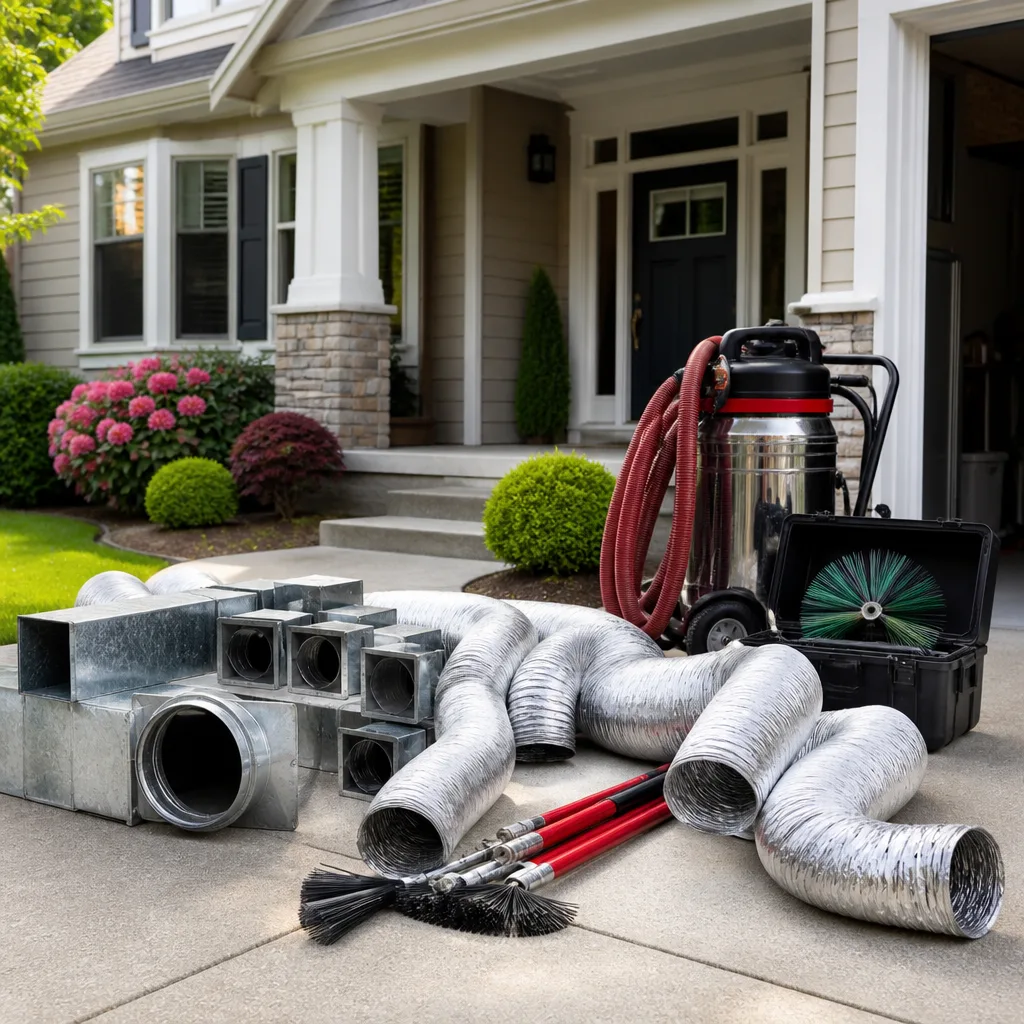 Whole-home duct cleaning
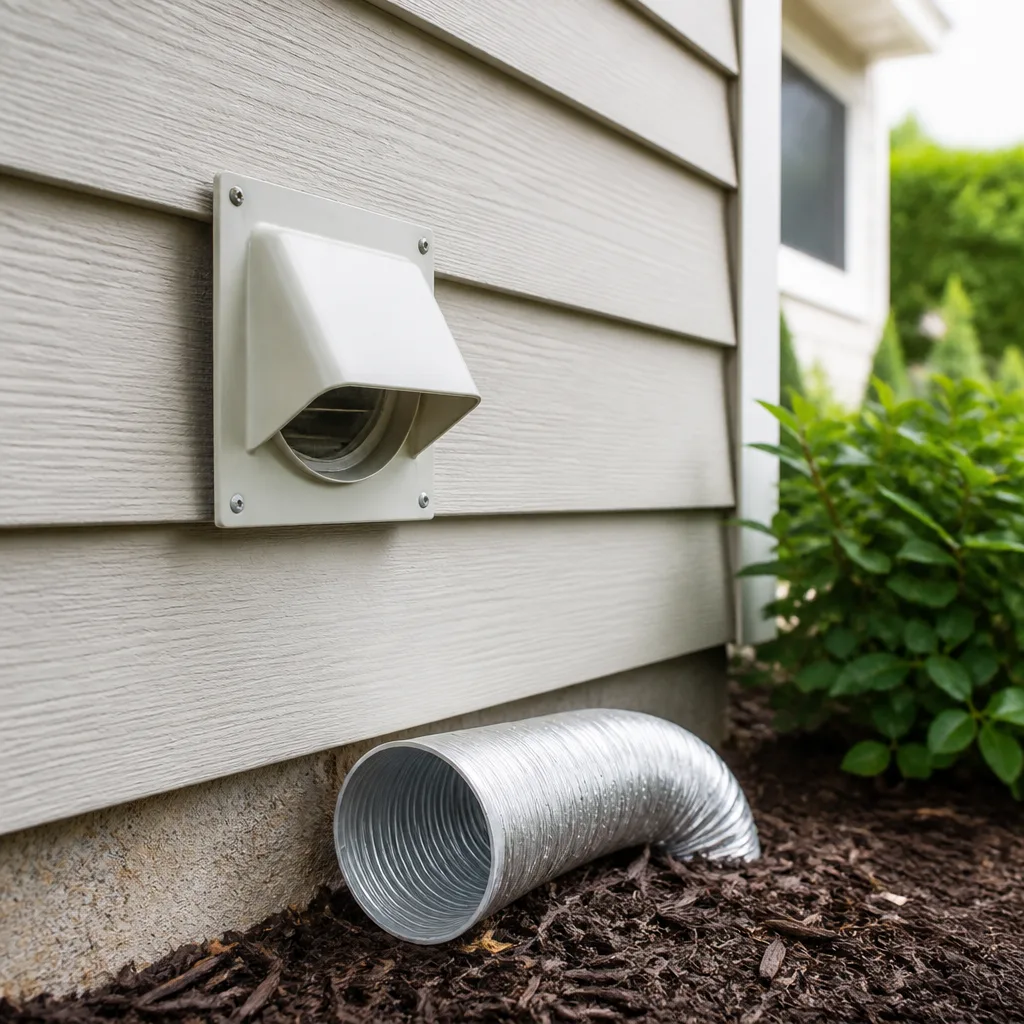 Dryer vent cleaning
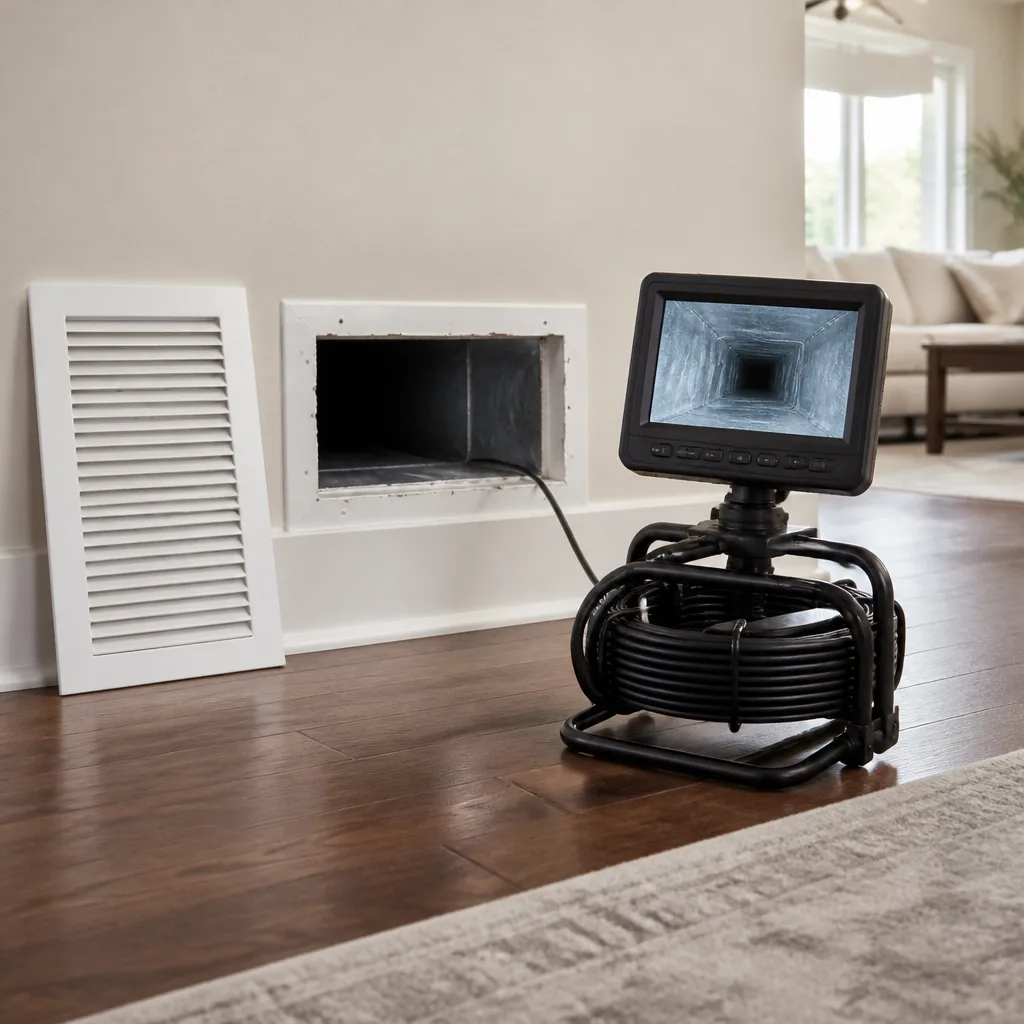 Camera inspection
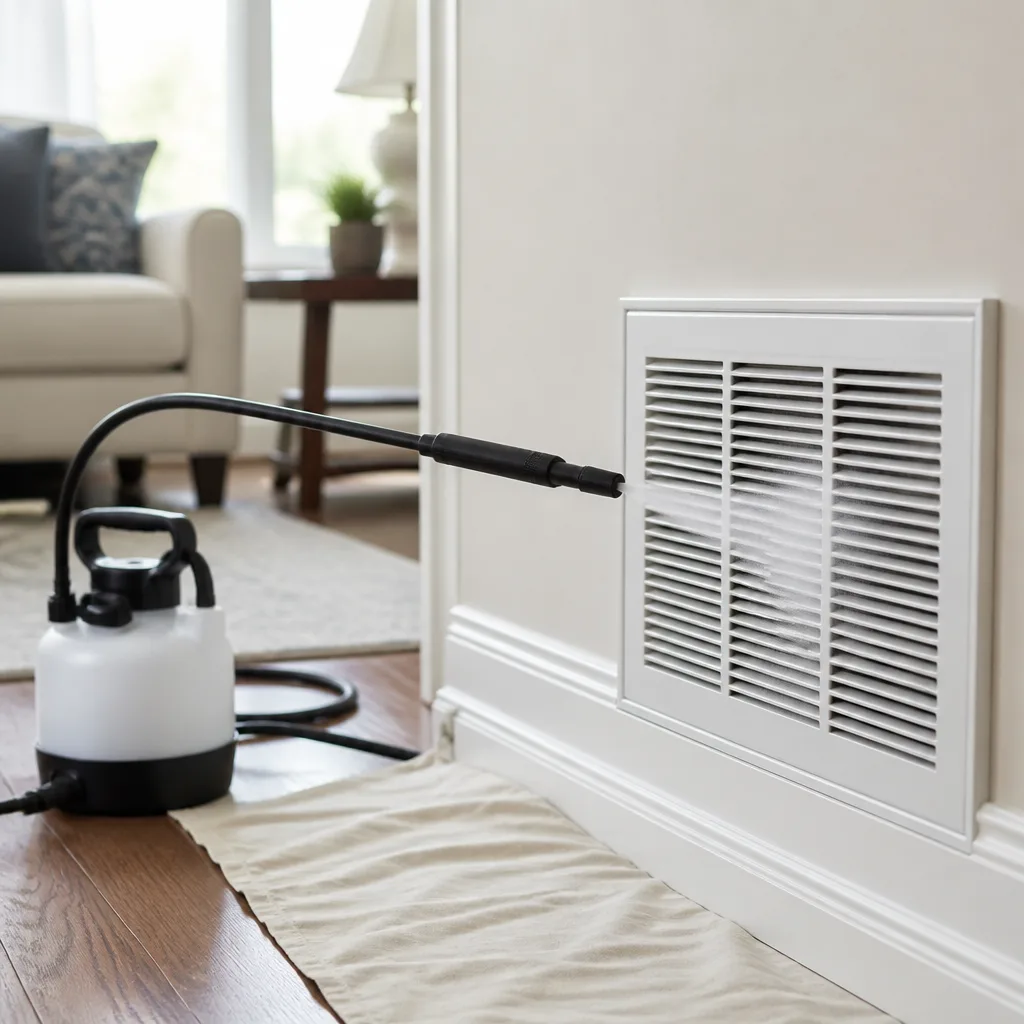 Sanitizing & deodorizing
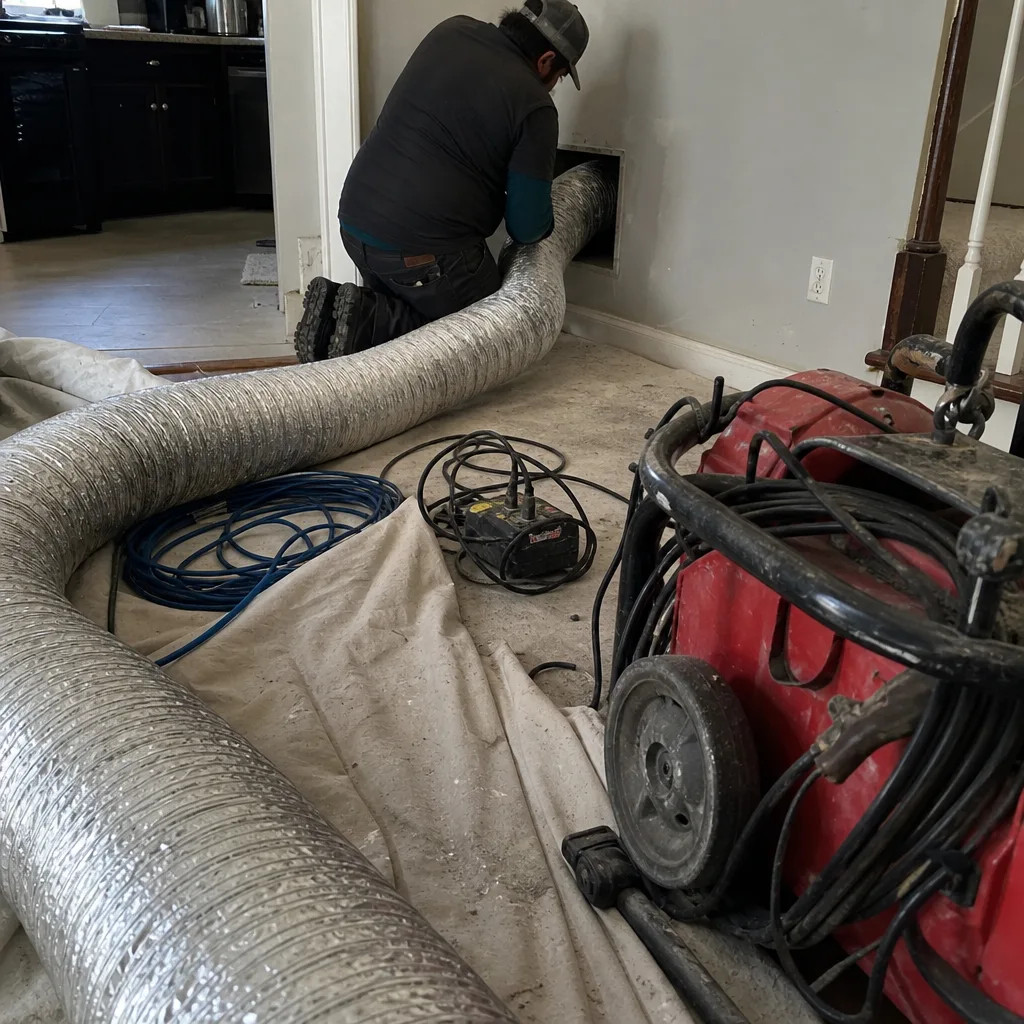
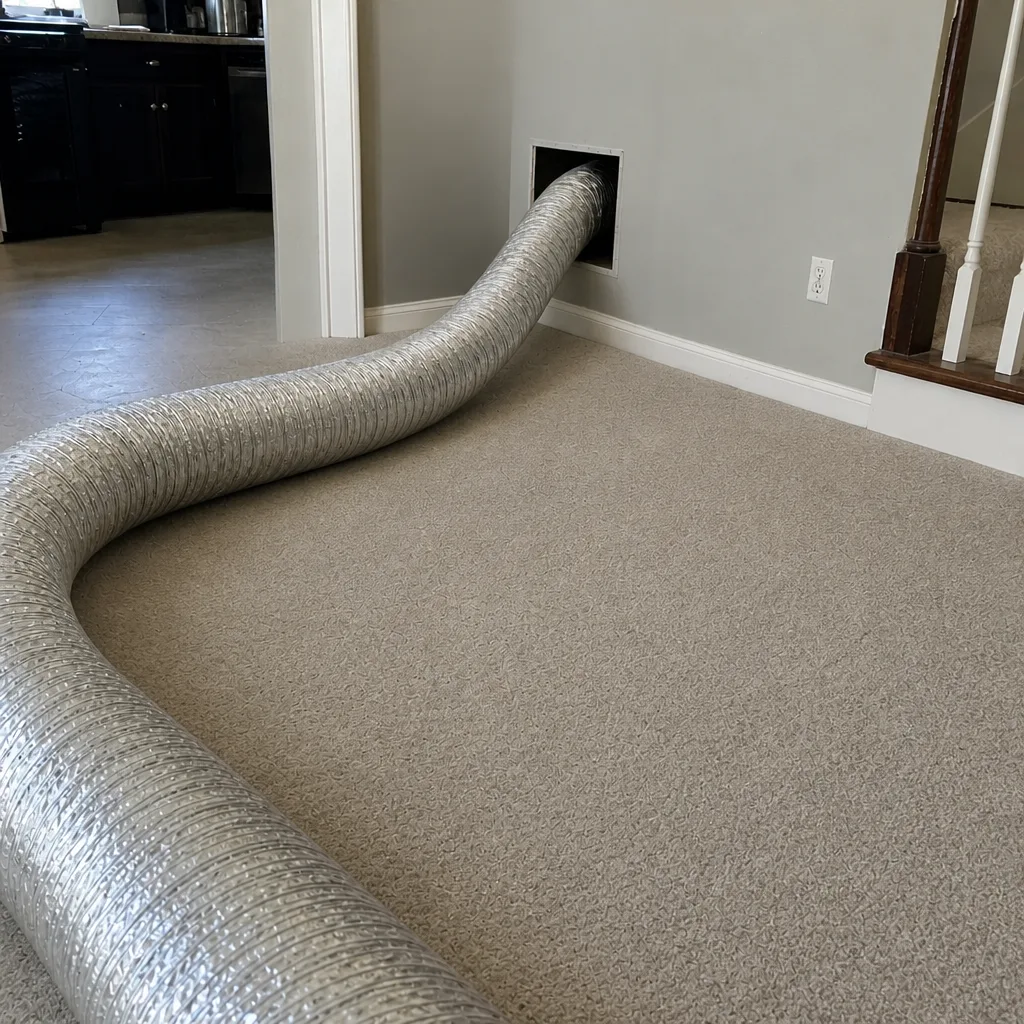
Whole-system duct and dryer vent check with before-and-after photos - you see exactly what came out of your vents
That "$99 whole-house special" is a bait ad - the real number appears once they are in your hallway, or the "clean" is a shop-vac at the register. We photograph the inside of your ducts before and after instead.
Air Duct Cleaning Maintenance Schedule: What to Do and When
Most homeowners have been told the same thing: clean your ducts every three to five years. It sounds reassuringly simple. It’s also the laziest advice in the trade. A Newark row house with original cast-iron radiators that was converted to forced air decades ago collects duct debris at a very different rate than a newer build out in the suburbs, and giving both homes the same calendar interval means one gets serviced far too often while the other quietly develops a problem. The right schedule depends on what’s actually driving contamination in your home. This guide walks through the maintenance decisions that matter, what to check between professional cleanings, and how to log it all so the next technician isn’t starting from zero.
Quick Answer
There’s no single correct interval for air duct cleaning. A home with pets, recent renovation dust, or an older leaky building envelope may need attention every two to three years, while a tightly sealed newer home with no pets and no renovations can often stretch to five years or more. The real schedule is condition-based: you inspect key indicators, log what you find, and let the system tell you when it’s due. For Newark properties, several local factors tend to push timelines shorter than national averages.
Styles & brands we work with
- Whole-home duct cleaning
- Dryer vent cleaning
- Camera inspection
- Sanitizing & deodorizing
Table of Contents
- Why the “Every 3-5 Years” Rule Falls Short
- The Condition-Based Maintenance Matrix
- Newark-Specific Contamination Triggers
- What to Inspect and Log Between Cleanings
- Folding Dryer Vent Maintenance Into the Schedule
- Documenting System Condition After Each Cleaning
- When Cleaning Reveals Damage: Repair vs. Re-Clean
- Building Your Own Schedule: A Step-by-Step Approach
Why the “Every 3-5 Years” Rule Falls Short
A fixed cleaning interval treats every home as if it sits in the same environment. It doesn’t. The contamination load inside a duct system comes from a handful of specific sources, and how many of those sources are active in your home determines how fast the interior surfaces load up. A home with two shedding dogs, a kitchen that vents grease into the return air, and a recent bathroom remodel is going to need attention on a very different timeline than a child-free condo with a well-maintained filtration setup.
The “every three to five years” number isn’t wrong so much as it’s a wide average that hides the real variables. It’s roughly the midpoint of typical residential timelines when nothing unusual is happening. The moment one variable shifts, the average stops applying.
There’s a second problem: the same advice means some homes get over-serviced. If you’re paying for a professional cleaning every three years on a home that genuinely only needs it every six, that’s money spent on maintenance you didn’t need. And the reverse is worse. A home with heavy contamination drivers that waits the full three years may develop mold growth in the duct liner or on interior surfaces well before the calendar says it’s time. Once mold establishes itself, cleaning becomes a much bigger job than it would have been.
Condition-based scheduling is the only honest approach. You assess what’s actually happening in the system, log those indicators, and let the data determine the interval. Our technicians have up to 8 years of experience working in systems across Newark, and the variation we see between two homes on the same block is far larger than any calendar rule can account for.
The Condition-Based Maintenance Matrix
To turn a vague “every few years” into a real schedule, you need to weigh the factors that actually drive contamination. The matrix below groups those factors and maps them to realistic cleaning intervals. Use it as a starting framework, then adjust based on what you find when you inspect.
Occupancy and Living Habits
- No pets, no children, no smokers: baseline contamination. Typical interval of four to five years, assuming no other drivers.
- Pets in the home: every animal sheds dander and hair that migrates into return air. Add one to two years to the baseline interval. Two or more heavy-shedding animals may push it down to two to three years.
- Smoking indoors: smoke residue coats duct surfaces and traps particulate. Treat as a two-to-three-year interval at most.
- High-occupancy households (five or more residents): more people means more dust, more skin cells, more activity. Shave a year off the baseline.
Renovation and Construction History
- Any renovation in the past 18 months: drywall dust, sawdust, and construction particulate get pulled into the return system and settle on duct surfaces. Schedule an inspection within a year of finishing the work, even if the ducts were recently cleaned.
- Ongoing or neighboring renovations: in dense Newark neighborhoods, construction dust from adjacent buildings enters through the building envelope and gets drawn into the HVAC system. This is one of the most common hidden drivers we encounter.
HVAC System Age and Condition
- Systems over 15 years old: older ductwork often has deteriorating interior liner, loose joints, and gaps that pull in unconditioned air from crawl spaces and wall cavities. The system is effectively self-contaminating. Inspect every two to three years.
- Recently installed system (under 5 years): new ductwork with tight seals loads more slowly. Four to five years is a reasonable starting point unless other factors apply.
- Systems with known leaks or damaged sections: anything drawing unfiltered air needs both a repair and a shorter inspection cycle. This is why air duct cleaning and repair belong together; the cleaning reveals the damage, and the repair stops the recontamination.
Stack the factors that apply to your home, and let the most aggressive driver set your interval. A Newark row house with pets, an older converted system, and ongoing rehab work next door sits at two to three years. A newer sealed home with no pets and no renovations can comfortably go five. Neither is wrong; they’re just different systems.
Newark-Specific Contamination Triggers
Newark properties carry a distinct set of contamination drivers that most generic maintenance advice ignores entirely. If you’re following a national schedule written for suburban homes, you’re likely under-servicing your system.
Construction Dust From Neighboring Rehabs
Newark’s dense housing stock means renovations rarely happen in isolation. When a neighboring row house is gutted and rebuilt, the dust doesn’t stay next door. It migrates through shared walls, gaps around party walls, and exterior openings, then gets drawn into your return air. Homes on blocks with active rehab work often see their duct surfaces load up noticeably faster than the same home on a quiet block. If there’s ongoing construction nearby, shorten your inspection interval to every two years until the work is done.
Urban Particulate Load
Living in a city means the outdoor air carries more fine particulate than a rural setting: vehicle exhaust, road dust, and general urban airborne debris. Your HVAC system draws this air in through the return and filters some of it, but filters aren’t perfect. Over years, the fraction that gets past the filter settles inside the ductwork. Older homes with leaky building envelopes pull in more unfiltered outdoor air, compounding the load.
Older Building Envelope Leakage
Much of Newark’s housing stock dates to the early-to-mid twentieth century, and building envelopes from that era leak. Gaps around windows, unsealed penetrations, and porous masonry all allow outdoor air and debris into the home. When the HVAC system runs, it pulls this unfiltered air into the return and pushes it through the ducts. The ducts aren’t just carrying conditioned air; they’re constantly reintroducing whatever the envelope lets in. This is a core reason Newark timelines run shorter than national averages.
Retrofit Systems in Pre-War Buildings
Many Newark homes were built with radiators or no ductwork at all and were later retrofitted with forced-air systems. The retrofits often run ductwork through spaces that were never designed for it: wall cavities, soffits, and crawl spaces with variable sealing. These systems tend to leak more than purpose-built ducted homes, which means they pull in more unfiltered air and load up faster. If your home was converted from radiators, treat your interval as one tier shorter than the matrix suggests.
What to Inspect and Log Between Cleanings
The schedule only works if you’re capturing data between professional visits. You don’t need special equipment for most of it. A notebook or a phone note works fine. Here’s what to check and how to read it.
Filter MERV Rating and Change Frequency
Log the MERV rating of the filter you’re using and how often you change it. A filter that’s loading up faster than expected is telling you the system is pulling more particulate than it should, which points to either a leak, a renovation nearby, or a need for a higher MERV rating. Those are two different problems, so note which you suspect. A filter that’s collapsing or bowing also signals excessive static pressure.
Register Dust Accumulation Rate
Check your supply registers monthly. Note whether a thin film of dust builds up within a week or stays clean for a month. Rapid dust accumulation on registers points to a filtration gap or a duct leak pulling in unfiltered air. Slow accumulation is normal. This is one of the easiest indicators to track and one of the most telling.
Static Pressure Readings
If you have an HVAC gauge, static pressure readings across the system tell you how hard the blower is working to move air. Rising static pressure over time often means the ducts are partially restricted: the filter is loaded, or debris has accumulated on duct surfaces and is narrowing the airway. Log the reading after each filter change so you can spot the trend. If you don’t have a gauge, ask your HVAC technician to take a reading at service visits and write it down.
Visual and Olfactory Checks
Pop off a supply register and shine a light into the duct. Note the color and texture of what you see. Light dusting is normal; darker, sticky, or speckled buildup suggests moisture or mold and warrants a professional inspection sooner than your calendar suggests. Also note any musty smell when the system kicks on. A persistent smell that gets worse over time is a signal to schedule an inspection regardless of where you are in the cycle.
Folding Dryer Vent Maintenance Into the Schedule
Dryer vent maintenance belongs in the same schedule as duct cleaning for one simple reason: it carries a fire-risk consequence that duct cleaning doesn’t. A clogged dryer vent traps heat and lint, and that’s a genuine safety issue in any home, regardless of how clean the air ducts are. Most duct-only companies don’t offer this service, which is one reason it gets neglected. We do, alongside the duct work.
The maintenance cadence for dryer vents is simpler than the duct matrix. Here’s a workable starting framework:
- Inspect the vent line visually every six months. Check the outdoor termination point for visible lint and confirm the flapper opens freely when the dryer runs.
- Clean the full vent run every one to two years for a typical household. Households with heavy laundry volume (large families, cloth diapers, or frequent towel washing) should lean toward the one-year end.
- Clean more frequently if the vent run is long or has multiple elbows. Long, winding vent lines trap lint faster. Anything that isn’t a short, straight run needs attention on the shorter end of the interval.
- Watch for warning signs between cleanings. Clothes taking longer to dry, the dryer exterior getting hot to the touch, and a burning smell during operation all warrant an immediate professional inspection.
Fold this into your overall schedule: schedule your dryer vent inspection in the same month you check your duct register buildup. It’s a quick, easy habit to keep and a genuinely important one. Our dryer vent cleaning service is designed to be done alongside duct work so you’re not coordinating separate appointments.
Documenting System Condition After Each Cleaning
One of the most underused maintenance practices is also one of the simplest: keep records. Every professional duct cleaning should generate a paper trail that tells the next technician what the system looked like, what was cleaned, and what was found. Without it, the next visit starts cold and the next technician has to rebuild a picture from scratch.
Here’s what to capture after each cleaning:
- Before-and-after photos of the duct interior. Any professional service should be able to show you what they cleaned and what it looked like before. Those photos become your baseline. Next time, the comparison is immediate.
- Contamination level notes. Was the system lightly dusted, moderately contaminated, or heavily loaded? Note the category so the next assessment has context.
- Repairs made or identified. If a section of duct was sealed or replaced, log it. If damage was found but not repaired, schedule the repair and note it. Duct integrity affects the whole schedule.
- Airflow and pressure readings if available. If airflow was measured or static pressure recorded, keep those numbers. They’re your baseline for spotting changes next time.
- Filter specs and schedule. Note the MERV rating and change interval. If you or the technician decided to change either, record the reason.
This record is what makes the condition-based approach actually work. Without a documented baseline, every cleaning is a fresh guess. With one, the next technician could look at the file and know exactly where the system stands and roughly when it needs attention again. Our technicians approach each job with this standard in mind, and we’re glad to talk through what a usable record looks like for your system.
When Cleaning Reveals Damage: Repair vs. Re-Clean
Cleaning a duct system sometimes reveals a problem that cleaning can’t fix. That’s not a failure; it’s valuable information. Most duct cleaners walk away from damaged ductwork and leave the homeowner to find someone else. We don’t. Duct repair is one of our three core services, and it’s the reason a cleaning and a repair can happen in the same sequence instead of becoming two separate projects.
Common findings during cleaning include:
- Loose or separated joints. If sections have pulled apart, the system is pulling in unconditioned air and debris from surrounding spaces. Cleaning doesn’t fix this; sealing does.
- Deteriorating interior liner. Older ductwork often has damaged acoustic or insulating liner that sheds fibers into the airstream. Cleaning may require removing loose material and assessing whether the section needs replacement.
- Gaps and holes. Any penetration in the duct wall lets in unfiltered air and short-circuits your filtration. These need sealing before another cleaning cycle goes by.
- Wet or mold-affected sections. Cleaning will not fix moisture problems. If there’s active moisture or established mold growth, repair is the priority. We work with Abatement Technologies equipment, the same brand used in professional remediation settings, so we can handle these findings at a level most duct cleaners can’t.
The practical rule: if cleaning reveals a leak, damaged section, or moisture source, repair it before you re-clean or before your next scheduled cycle. Cleaning a leaky system just re-loads a system that’s going to contaminate itself again. Repair first, then clean, then document and set the next interval based on a system that’s actually sealed. That’s why we treat cleaning and repair as one decision, not two appointments.
Building Your Own Schedule: A Step-by-Step Approach
By now you have the pieces: the factors, the local triggers, the inspection points, the documentation habits. Here’s how to turn them into an actual schedule you’ll follow. This is a general approach, not a rigid formula. Adjust it to your home.
- Identify your contamination drivers. Walk through the matrix above and note which factors apply: pets, recent renovations, system age, building envelope condition. Be honest about the neighboring construction situation too.
- Set a baseline interval. Start from four years and adjust in either direction by one to two years based on the drivers you identified. A home with several active drivers starts at two years; a home with none starts at five.
- Set up a between-cleaning inspection habit. Pick a day once a month to check register dust accumulation and a day once every two months to inspect the dryer vent termination. A phone reminder works fine.
- Schedule the first inspection at half your interval. If your baseline is four years, schedule a visual inspection at the two-year mark. If the system looks clean, you can push the full cleaning out at least another year. If it looks loaded, clean sooner.
- Log the results. Use the documentation checklist above. Keep it somewhere you’ll find it: a note on your phone, a folder, or a page taped inside the HVAC closet door.
- Reassess the interval after each professional visit. The observed condition of your system at the last cleaning is the best predictor of the next one. If it was cleaner than expected, stretch the interval. If it was dirtier, tighten it.
- Review the schedule whenever a life event changes your drivers. Getting a pet, finishing a renovation, or having a neighboring building rehabbed are all triggers to re-evaluate. The schedule isn’t fixed; it moves with the conditions.
We bring both Rotobrush and Nikro systems to the job, which lets our technicians match the cleaning method to what we actually find rather than forcing every system through one process. That same flexibility is what makes a condition-based schedule realistic: the cleaning adapts to the system, and the schedule adapts to what the cleaning reveals.
Common Mistakes to Avoid
- Following the calendar rule without checking local factors. The “every three to five years” number assumes an average home. Newark’s building stock and neighboring construction make the average a poor fit for a lot of properties here. Check your actual drivers first.
- Ignoring the dryer vent because it’s “a different thing.” It’s the one part of the ventilation system with a fire-risk consequence for neglect. Skipping it because it wasn’t part of the duct cleaning conversation is a costly oversight.
- Cleaning without logging. A cleaning with no record leaves the next technician guessing. Before-and-after photos and the contamination level notes are useful, not optional.
- Re-cleaning a system with a known leak. If cleaning revealed a gap or a damaged section and you clean again without repairing it, you’re re-contaminating a system that’s open to unfiltered air. Fix the leak first.
- Assuming a higher MERV filter solves everything. A higher MERV rating captures more particulate, but if the ductwork is leaking, the filter is only handling the air that reaches it. Leaks need a repair, not a filter upgrade.
- Waiting for visible dust or a smell before scheduling an inspection. By the time contamination is obvious, it’s often been building for years. The inspection habit exists precisely so you catch it earlier.
- Treating a retrofit system like a purpose-built one. Homes in Newark that were converted from radiators to forced air often have ductwork in spaces with weaker sealing than new builds. Give those systems a shorter interval than the baseline.
See the difference
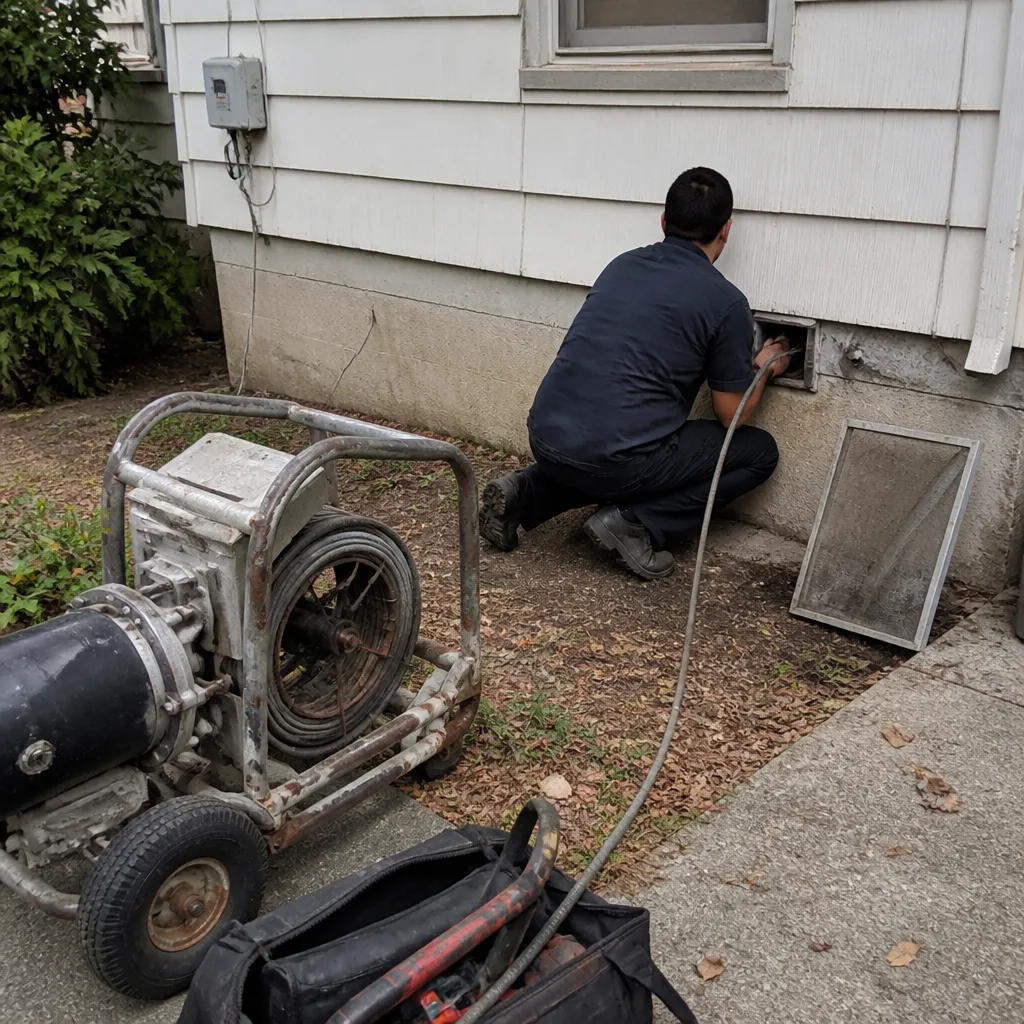 Before
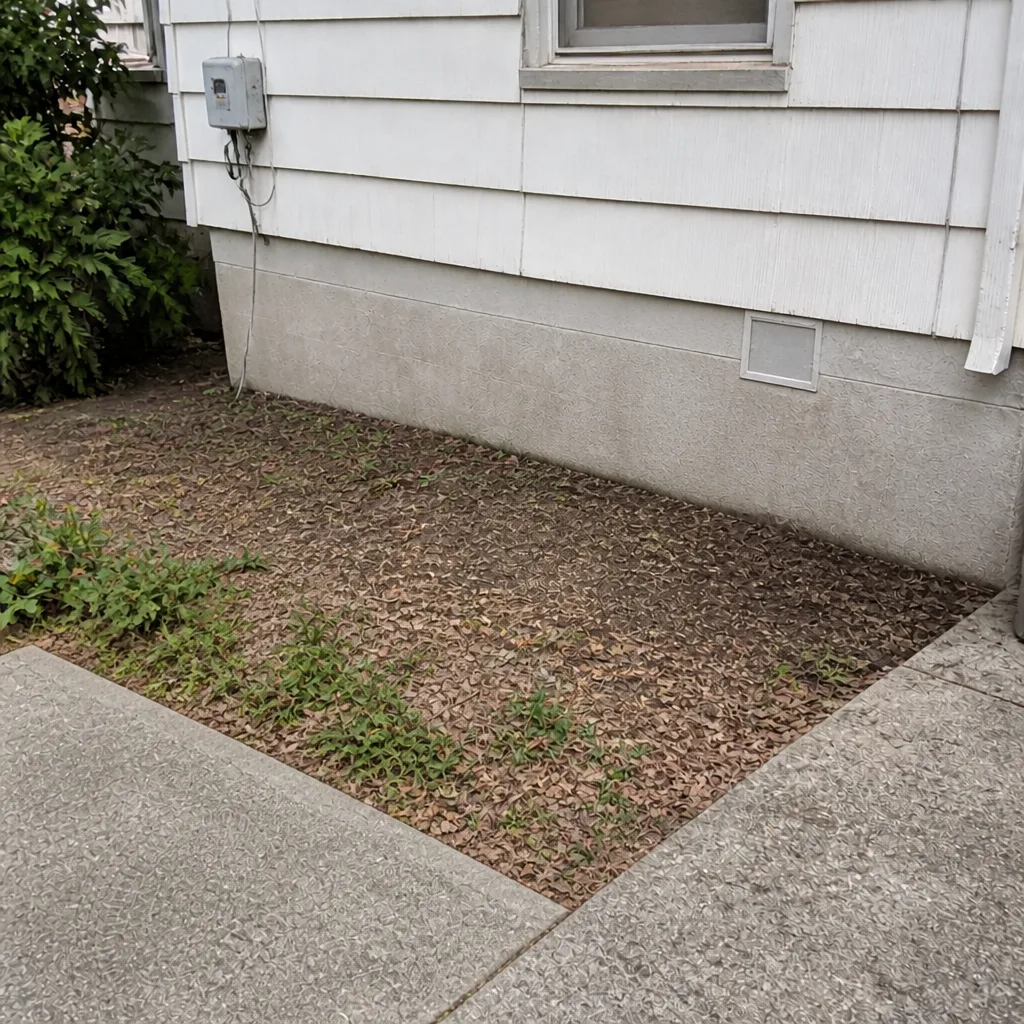 After
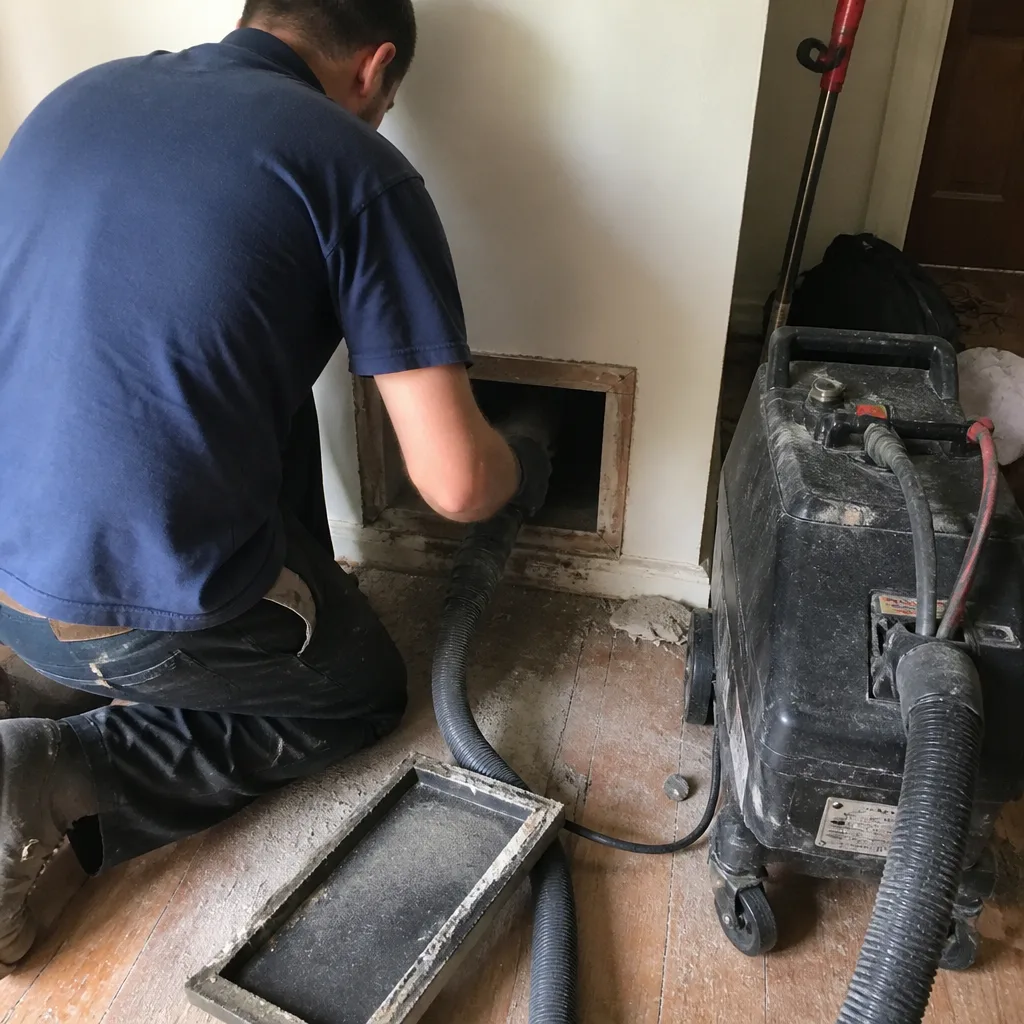 Before
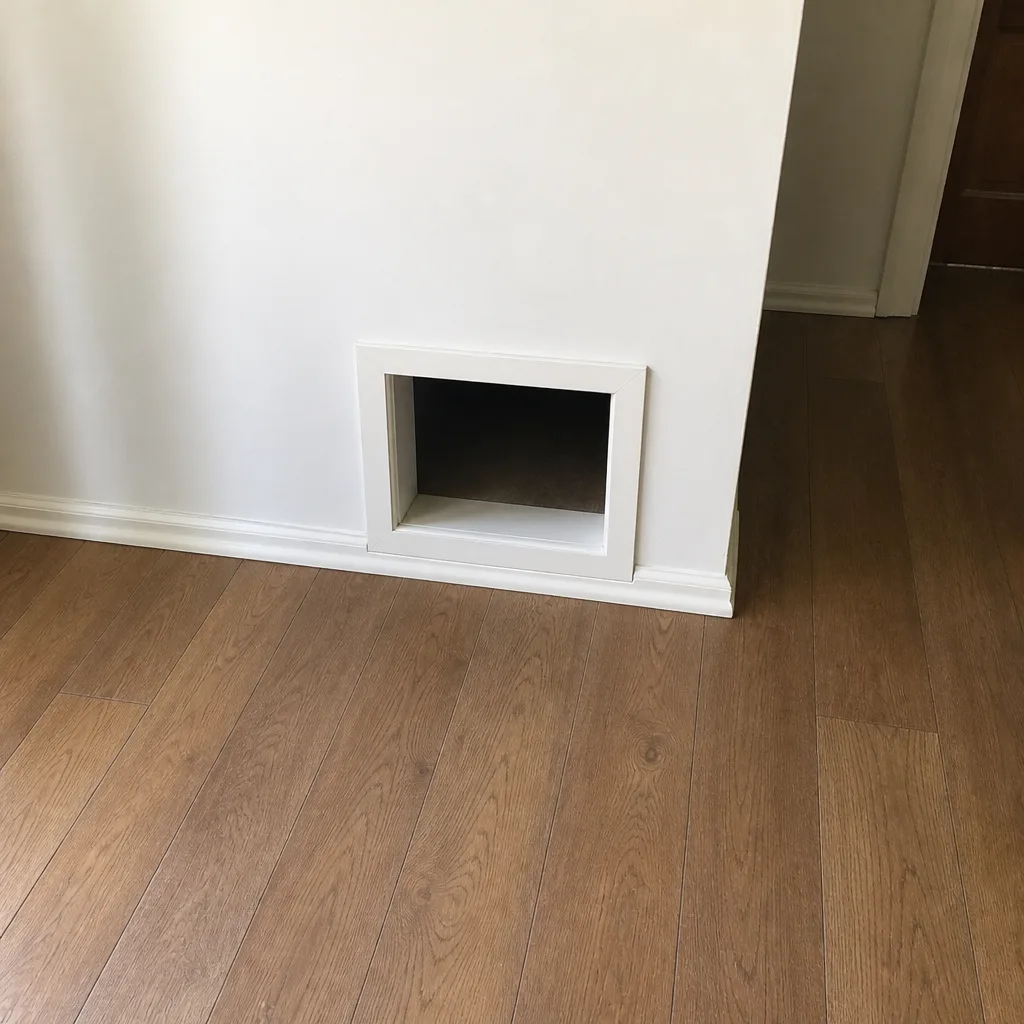 After
 Before
 After
When to Call a Professional
Many of the maintenance steps in this guide are things you can do yourself: check registers, log filter changes, inspect the dryer vent termination, and keep records. But some situations call for a trained professional, and it’s worth knowing what they are.
Call a professional if your register dust accumulates so fast that a cleaning doesn’t seem to change it, if there’s a musty smell when the system runs, if the dryer vent is taking much longer than usual to dry a load, or if a visual inspection reveals sticky, dark, or speckled buildup inside the duct. Any of these suggest a problem that an inspection habit alone can’t resolve. We also recommend a professional inspection before any planned renovation, since capturing a clean baseline before the dust starts makes comparison afterward much easier.
In our experience, the homeowners who schedule an assessment early are the ones who avoid the bigger, more disruptive jobs later. Duct Cleaning Newark offers free estimates in Newark. Call (866) 485-3609 to schedule. We answer 24/7. Fast dispatch from 7am to 7pm, Sunday through Friday.
Frequently Asked Questions
Most Newark homes fall in the two-to-five-year range, with the shorter end applying to properties that have pets, older retrofit systems, or ongoing renovation work nearby. A home with several contamination drivers should be inspected every two years. A tightly sealed newer home with none can stretch to five. Use the condition matrix above, and let the actual state of the system set the interval rather than a calendar rule. Call (866) 485-3609 for an exact assessment. Estimates are free.
Several local factors push the timeline shorter than national averages. Dense neighborhoods mean construction dust from neighboring rehabs migrates into homes, urban particulate load is higher than in rural or suburban settings, and many homes have older building envelopes that let in unfiltered air. Retrofitted forced-air systems in pre-war buildings often leak more than purpose-built ducted homes, which adds to the rate. Those factors compound, and that’s why the rule of thumb written for suburban homes doesn’t always fit here.
A higher MERV filter captures more particulate before it reaches the ducts, which reduces contamination buildup over time. But it only helps if the ductwork and the return system are sealed. A leaking duct pulls unfiltered air in downstream of the filter, so higher MERV won’t compensate for a leak. Log your filter rating and change frequency; if the filters are loading faster than expected, that’s a sign to check for leaks and inspect the ducts sooner.
Ask for before-and-after photos of your own ducts. Any professional service should be able to show you what was cleaned and what it looked like before. In our work, we use Rotobrush and Nikro systems, both independently recognized commercial platforms, and the photographic record is part of how we verify the job. If you don’t receive photos, ask. A documented baseline is also what makes the next cleaning easier to assess.
They’re related but on different cadences. Dryer vents should be visually checked every six months and fully cleaned every one to two years for a typical household. Air ducts generally go longer between full cleanings. Both belong in your overall maintenance plan, and doing them in the same visit or the same month is the easiest way to keep them both on track. Dryer vent maintenance carries a fire-risk consequence if neglected, so it’s worth keeping on schedule even when the duct work isn’t due.
If a leak, gap, deteriorating liner, or moisture issue turns up during cleaning, repair becomes the priority. Cleaning a leaky system just re-loads a system that’s going to contaminate itself again. We offer duct repair as a named service, and our technicians can fix what they find on the same visit or schedule it in sequence with the cleaning. Most duct cleaners stop at the cleaning and leave the repair to someone else; we don’t leave damaged ductwork for someone else. Call (866) 485-3609 to talk through what your system needs.
The Bottom Line
A fixed three-to-five-year cleaning interval is a reasonable starting point for an average home, and a poor fit for a specific one. The right schedule is built from the contamination drivers actually present in your property: pets, renovations, system age, building envelope condition, and the local factors that make Newark homes load up faster than the national average. Set a baseline, inspect between cleanings, log what you find, and let the observed condition of your system reset the interval each time. Fold the dryer vent into the same plan so it doesn’t get forgotten. That approach is more work than circling a date on a calendar, but it’s the only one that reflects what’s actually happening in your ducts.
Cleaner air starts at the source. If you’re ready to establish a baseline for your Newark property, call (866) 485-3609 for a free estimate. We answer 24/7. Fast dispatch from 7am to 7pm, Sunday through Friday.
Written by the team at Duct Cleaning Newark.